Sunday, February 26, 2012

Invasion!

Crochet monsters!

Crochet Aliens!

They're INVADING!

But at least they are cute!


Sunday, February 19, 2012

Trying to get Organized!

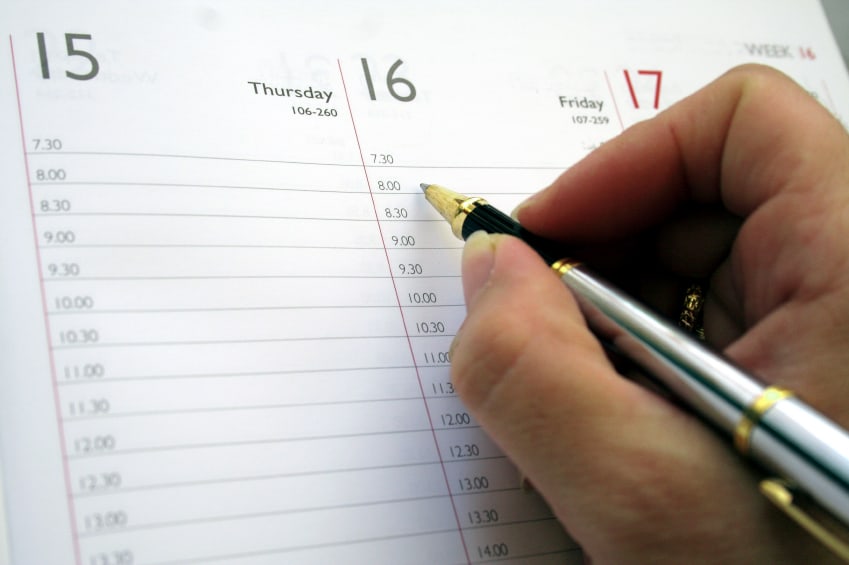
I nearly missed a client meeting today. Between school, and prego brain, I have been forgetting everything! From homework, to which classes I have on those days! It's become unbearable, and it's starting to re-trigger my anxiety disorder...

(Organizedmom.net)

I am hoping that by starting my week with a plan, and starting my month with a shadow of a plan, will help me stay on top of my responsibilities.
 

Saturday, February 11, 2012

Hat Designs

Two trends I am seeing blow up ALL OVER the internet and local markets are Twin Set hats, and Hats that make your child's head look like something else. Such as Pumpkin hats, or Owl hats, or Flower blossom hats, or even sports related hats, like soccer balls, basket balls, foot balls, and baseballs. I am starting to work on a few designs for this trend, posting on my Etsy store, and on my Facebook, and planning on carrying them at our local Saturday Market.


What are you opinions on hats that make your child look like something else? Cool, or Cruel?


Friday, January 27, 2012

Creative Friday

I have started several new goals... one of which is regular weekly posts, even if it's just a picture or two. On Fridays, I have no class, so I figured it'd be a good day to post about crafty things to do. This week, I made a stuffed turtle...

Squeeze!


Crocheted, embroidered eyes and smile
No pattern, just improvisation.

A while ago, I also made these:

This is Poke!

And this is Gayle, I have also made a zebra, but forgot to take a picture before I gifted him.
   

Sunday, January 22, 2012

Healthy Start - Navy Bean soup

One of the biggest things I see with my friends with new or growing families, is that they tend to eat a little less healthy then they should because it just isn't convenient to drop everything and cook a full dinner. So, McDonalds Happy Meals become the easy alternative between newborn check-ups and their toddlers swim lessons.

I have decided to start preparing early, as in, I have been preparing easy store, freezer food meals for several years now, and my drive to continue throughout my pregnancy and parenthood has only increased. I don't have kids yet, but enough of my friends have little ones that I've helped out with, that I understand things a little more intimately about sleep deprivation than most non-parents. Most days in the first couple months you don't get enough sleep to remember to brush your own hair, let alone time to cook, or clean.


When I was growing up, my dad would put together meals in the morning, then halfway through his day, he'd come home, put them all in a pan with lots of water, and simmer them. When he came home from work about 2 hours later, he'd toss bread in the oven, and in 15-20 minutes, dinner was ready. One of my FAVORITE recipes was his Navy Bean and Bacon soup! Over the years, I've tweaked the recipe a little, and because I wasn't feeling up to it, hubby made this last night without much direction.

This soup can be eaten straight from the crock pot, or stored in shallow freezer and microwave safe containers and frozen. This is a great meal option to send with your SO to work during the week that isn't the cheap cafe down the road.

Time:
     Prep: 10-15 minutes (soaking beans the night before prep)
     Cook: Overnight
Ingredients:
16 oz dry navy beans
1 can corn (not drained)
2 cans chicken broth
1-1.5 lbs bacon (cooked, broken up)
1 can of water
2-3 cloves garlic (peeled smashed)
       Note: if you do not have fresh garlic, a 1/2 tsp of garlic powder will work

Directions:
You will need a crock pot or slow cooker with high and medium or low heat.

Soak your beans in water the night before you plan to prep this, I tossed them in a bowl on Friday before I went to bed, and we made the soup Saturday afternoon.

Add drained beans, 2 cans chicken broth (you could substitute veggie broth), 1 can undrained corn, and 1 can of water to the stock pot, turn on high heat. While this is heating up, peel and smash the garlic with a broad blade knife, add these to your soup. Cook your bacon to a point where you can crumble it a bit, add this to the crock pot. simmer on high for about 2 hours, turn to low while you go to bed, or work, or wherever you need to go (about 8 hours). Keep covered.

In the morning, package for freezer or work enjoyment. Refrigerate the work or school portions immediately in shallow containers. When you serve this, it can be on it's own, or it is fantastic with french bread or garlic bread. I myself and thinking about a serving with a few cressant rolls. YUM!
 

Saturday, January 21, 2012

Warm Sentiments - Baby Blankets

The baby blanket, the warmth and security, almost every baby or child has their favorite. I'm almost 23 and I have a favorite blanket...

About two years ago, my mom dug out one of my baby blankets and gave it to me. I slept with it every night, and often during the day, my husband thought it was odd, and a little adorable. I can live with that. Unfortunately, about 3 months after I brought it home, one of my dogs chewed through one layer of it, so it has a 3 inch hole in one side. I am looking for a cute patch to put over it, I am thinking I might take a scrap from my own baby's blankie (once I decide on what I am making) and use that to cover it.

About a year ago, my mother-in-law gave me a box of things. One of the items in the box was a cot blanket that my husbands grandma gave him. It's plush, and silky, and has a vaguely Asian feel to it, it is comfy, and gorgeous. I need to sew op a few seams, and clean it again (our black dog decided it was part of her space on the bed...)

Both of these blankets will be passed down to our baby in the late summer.

I have also made our little one a couple crocheted blankets, I am working on a granny square one now in some very pretty green tones, I discovered that they would also make a nice turtle stuffy, so I will be making that as well.

The picture doesn't quite do these colors justice. It was taken with my cell phone, inside my car, when it was pouring rain. The solid color is an almost Easter-y mint green, and the multi is just a tad darker than the pic. I will be posting a tutorial on the blanket, and possibly the turtle, and matching hat. (next week sometime)

Do you still have your favorite childhood blanket? Whether you use it or it's packed away for safe keeping? Does your child have a security blanket?
 

Thursday, January 19, 2012

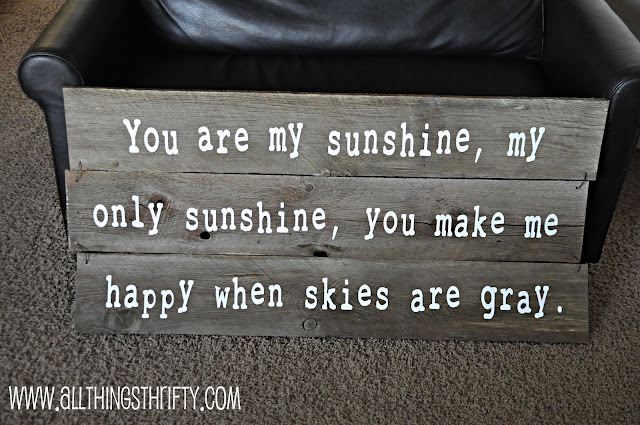
Pottery Barn inspired word plaques for baby or childs room

With recent announcements, and the feelings that come with them, I have been kicking into crafty hyperdrive.

I found this:

(Pottery Barn)

Then I found this:


Seem similar?

This tutorial comes from a very talented DIY mom from D and G Stories. Daniel is a very talented mom, who couldnt stand the price on something so perfect, and easy, for her little girl. You can find her tutorial here!

I think I could so run with this idea, boys, girls, gender neutral, twins, even non word plaques...

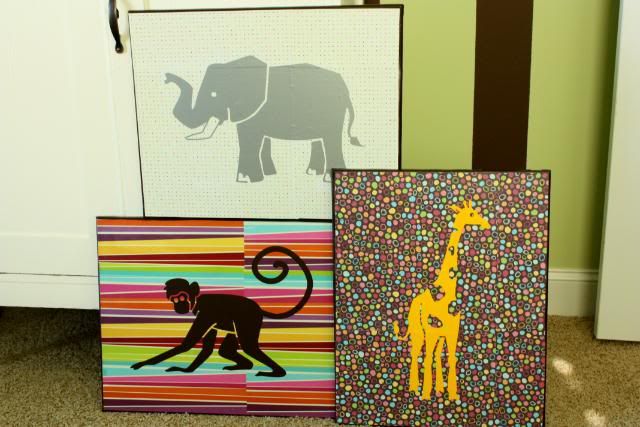
I have also been looking at some more MOD style nursery decorations.
Check out my little bits of inspirations, a link to the page I found them on will be at the bottom of each pic.


(99 Hom) 
BTW, they have tons of other ideas for kids of all ages!


So now that I have pictured you out, I am going to go gather some pretty papers for some of these!

I'll be putting together a nursery pinterest, if your interested in following my boards, let me know in the comments!


Tuesday, January 3, 2012

We loved you before we met you!

I've been away for a while, with the holidays, and some other news that has taken up some of our attention and energy...


this was taken at a dating scan, we didn't know if we were at 11 weeks or 7 weeks, so our midwife asked us to get an ultrasound. We were at 7 weeks 3 days here. we are now just about done with 8 weeks and 3 days.

There is quite a lot going on, and the updates may be a bit......sporadic for the next month or so, until I can get the morning sickness to...calm down.
 

Monday, December 5, 2011

cupcakes!

Do you ever get tired of simple patterns, that costs you an arm and a leg?

Thats how I feel about the popular cupcake and owl patterns. how can you charge for something so simple? The argument is that you put thought into it, and people are not interested in putting their own brain to the task of working the pattern out. They are willing to pay for the convenience of having this pattern written out for them to use.

I honestly just want to spread the joy of knitting and crochet to the masses.


This is crocheted with two tones of Caron Simply Soft, and an I hook. You can use any yarn you want, and any hook that coordinates with it.

This is a newborn- 6 months, but you can also size it however you want, just keep expanding the pattern, until it's the size you want it.

Special stitches:

double puff: yo, insert hook in next stitch, pull loop through, yo, pull through 2 loops on hook, yo insert hook in same stitch, yo, pull loop through, yo, pull through 2 loop son hook, yo, pull through all loops on hook, you have just made 1 puff.... sounds complicated, I promise, it isnt.

Alternative: just use regular dbl, as you would normally start a hat.

Scallop: 6dbl in 2nd st from hook, *skip 1 st, sc in next, skip 1 st, 6 dbl in next stitch* to end

Additional Materials:
about 36-50 small beads, if your yarn is too thick for your beads, you will need to find coordinating or matching thread.

This hat is made in two parts, the "cake" and the Frosting.

Cake:
Foundation: Chain 11
Row 1, hdb in back loop of 3rd chain from hook, hdb in back loop only across, chain 1
Row 2: repeat row 1 until piece measures the circumference of the head of the person you are crocheting for. Note: if this is for an older child or an adult, increase your beginning chain, the cake section should be about half the distance from the forehead edge tot he crown of the head.

When you make this long enough, sc the edges together, making sure there are no twists in the "cake" section, the part that has the ridge from the sc will be put inside.

To ease connecting the 2 pieces later, sc around edge as evenly as you can, you only need to do this on 1 edge.

Frosting:

You will either a) string the beads onto the yarn, don't cut the yarn or tie it off, just leave it on the skein, and string the beads straight onto it, or b) if the yarn is too thick, string your beads onto the thread, you will crochet the thread along with the yarn for the desired sprinkles effect. Just move the beads up to the hook as desired... confused? look up any video on youtube for "crocheting with beads"

Foundation/ Round 1: Chain 2, create 1 puff in 2nd chain from hook, chain 1, create a 2nd puff, chain 1, until you have 6 puffs, chain 1, connect to top of the start chain with a sl st.

Round 2: sl to 1st ch 1 space, chain 1, *create 1 puff, chain 1, create 2nd puff in same ch sp, chain 1* repeat between *-* to end, connect to top of start with sl st.

Round 3:  sl to next ch 1 sp. Ch 1, *create 1st puff, chain 1 create 2nd puff in same ch sp, ch 1, create 1 puff in next ch sp, ch 1* around, connect to top of start chain with sl st.

you will continue this pattern, doing 1 puff, ch 1 in each single puff from the previous row, and 2 puffs with a ch between and after them in the "v stitch" sections from the row behind. This will cause the piece to expand outward in a hexagon, stop this increase when your top is as close tot eh circumference of your base "cake", from here, you will omit the increase stitches.

Creating height: sl to next ch sp, ch 1, create puff in same stitch, ch 1, *create puff, ch 1* to end
Repeat this row until it is the same distance from row 4 to the edge as the base "cake" is from top to bottom.

Putting them together:
Lay the "cake" inside the "frosting" the seam should be against the inside of the frosting and the sc'ed edge should be against the last row of "frosting".

Using the same yarn as you used for the frosting part, sc around the 2 pieces, making sure to pick up the stitch from both pieces, this will attach them to each other, and give you a base for the scallops. when you get to the end, slip to first stitch, do not ch 1.

Scallop around edge, fasten off, weave in ends.

Note: to save time, crochet ends from "cake" by tucking it inside the stitches connecting the two pieces., then you only have 1 end to weave in in the end.

Finishing: Add a large red bead or sew a red pom pom on top for the cherry.

If this was confusing, let me know in the comments, I'll try to explain it better, or put up pictures, or something.

Ravel it... http://www.ravelry.com/patterns/library/with-a-cherry-on-top